Last updated November 20, 2026
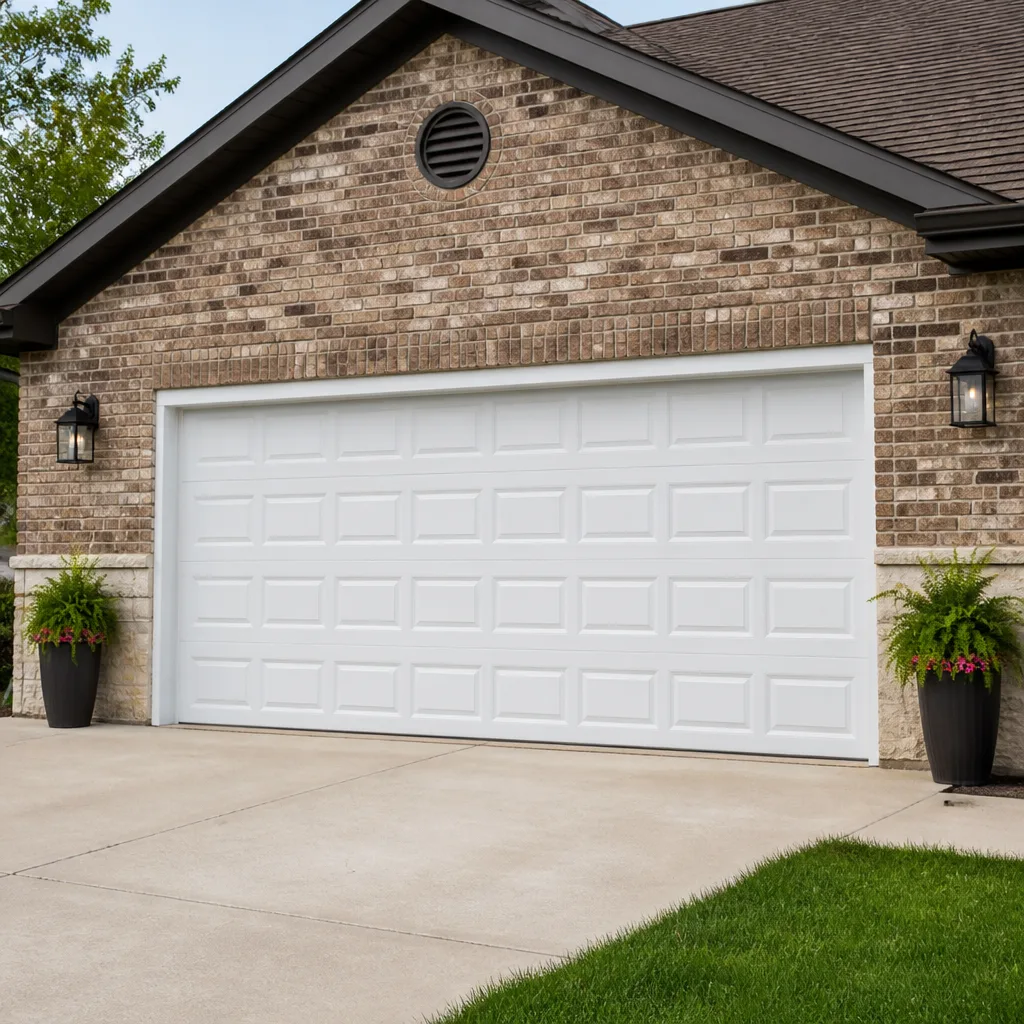 Raised-panel steel
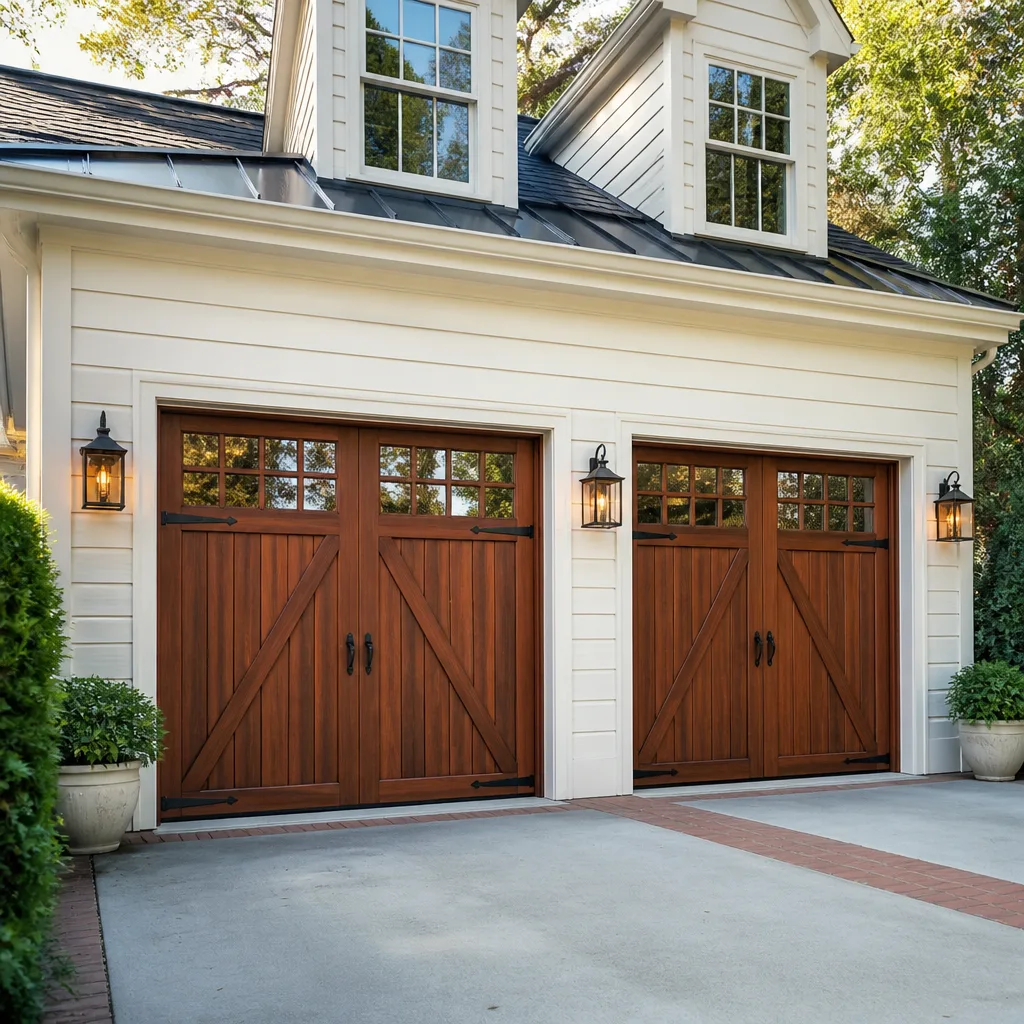 Carriage house
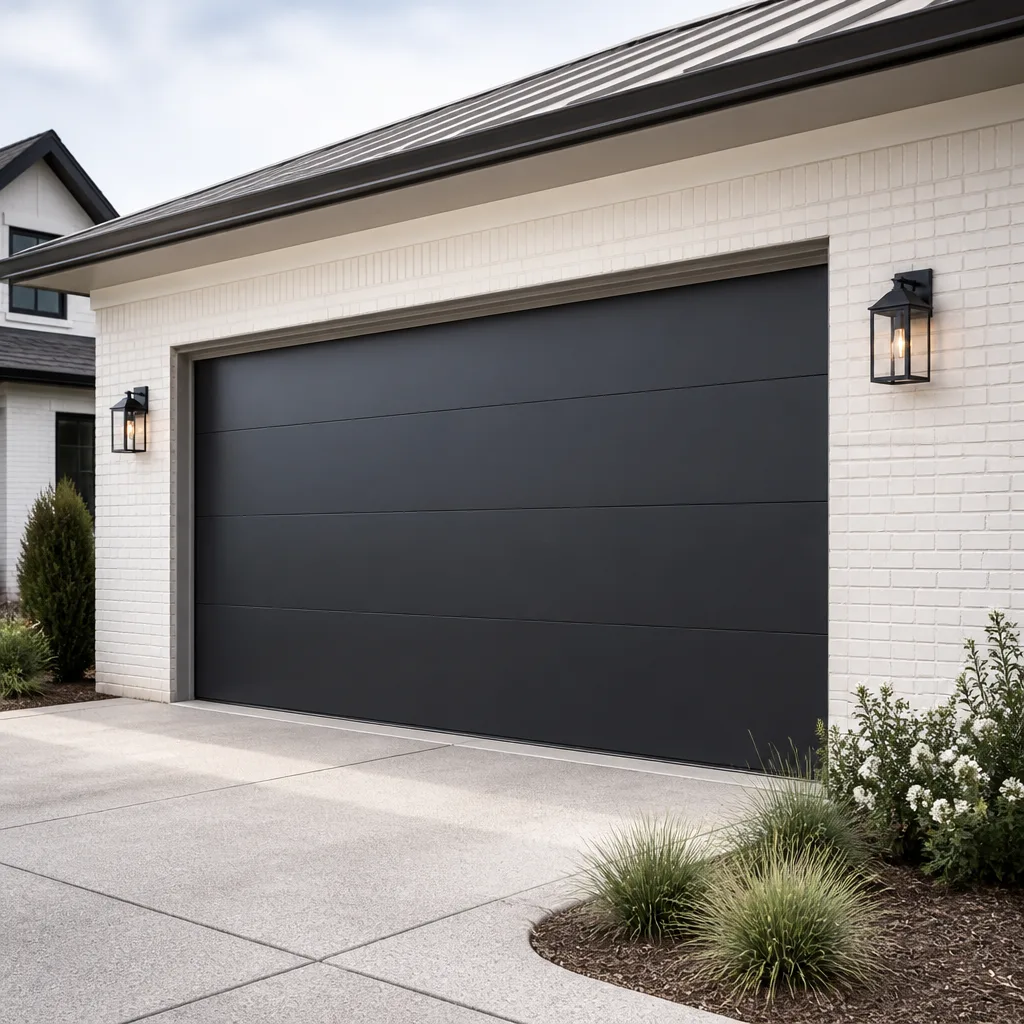 Modern flush
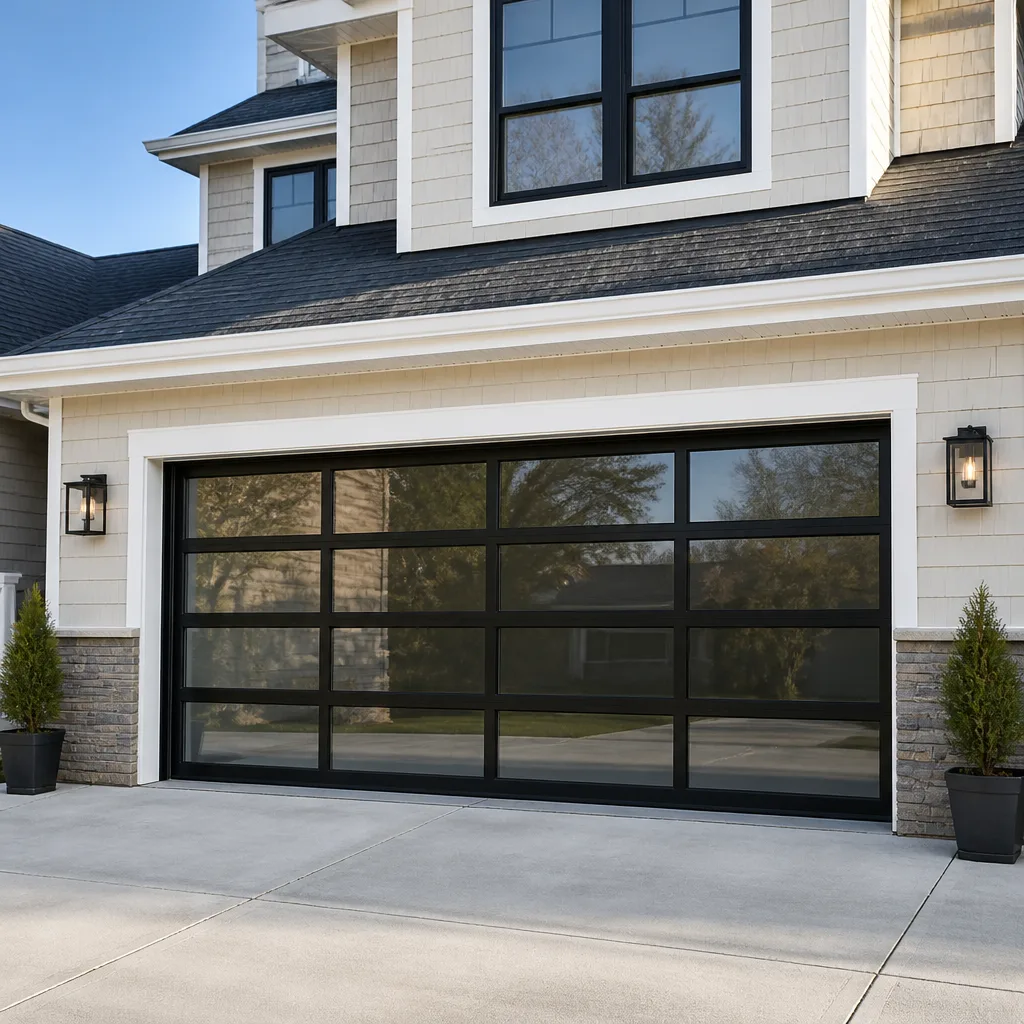 Full-view glass
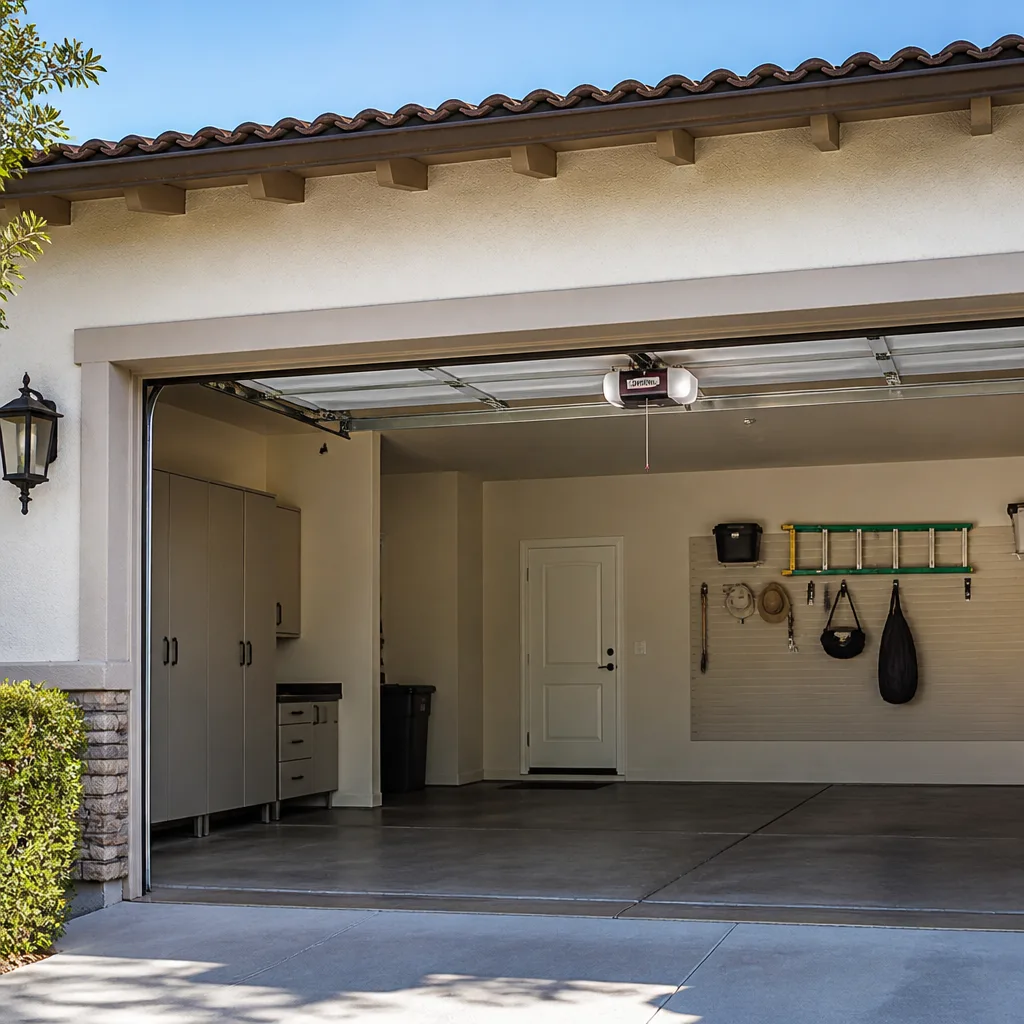 LiftMaster openers
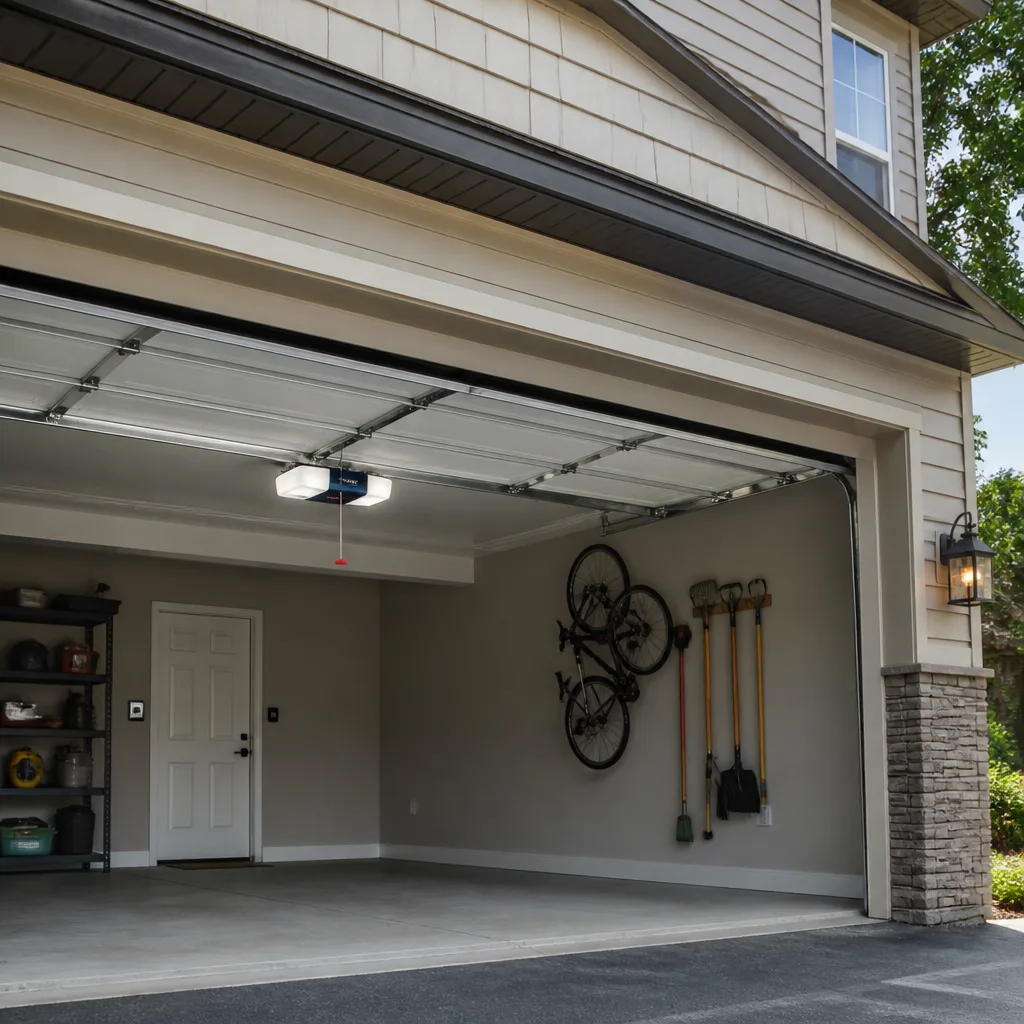 Chamberlain openers
Full 25-point door and opener safety check with every visit - springs, cables, rollers, tracks, and your LiftMaster or Chamberlain opener included
You get a price before we start. It does not change when the pro arrives.
Get your free estimateGarage Door Repair Maintenance Checklist for Burien Homeowners
Most homeowners treat their garage door like a light switch: it works until it doesn’t, and then it’s a phone call. That’s backwards. In our experience, four short inspections a year, about ten minutes each, head off the overwhelming majority of the emergency calls we get around Burien. Not because the door is complicated, but because the parts that fail almost always announce themselves first. Rust starts as a speck. A cable frays one wire at a time. A bottom seal stiffens and stops sealing weeks before anyone notices the water. This guide walks you through the door component by component, tells you the pass/fail line for each, and points out the failure patterns that the Pacific Northwest climate makes worse than what generic checklists cover.
Quick Answer
A garage door maintenance checklist for Burien should cover six areas every season: springs, cables, rollers, tracks, weather seals, and the opener. Check springs and cables for rust, gaps and fraying; make sure rollers spin freely; confirm tracks are plumb and clear; test that the bottom seal flexes and seals; and run the opener’s safety reverse test monthly. Catch these early and you avoid most spring snaps, cable failures and opener burnouts before they strand your car.
Styles & brands we work with
- Raised-panel steel
- Carriage house
- Modern flush
- Full-view glass
- LiftMaster openers
- Chamberlain openers
Table of Contents
- Why a Maintenance Checklist Matters in Burien
- Springs: What to Check and What to Leave Alone
- Cables: The Part Most Homeowners Overlook
- Rollers and Tracks: Roll, Align, and Inspect
- Weather Seals: The Burien Swelling Problem
- Opener Checks: Mechanical and Logic Board
- Lubrication: The Right Product and What to Skip
- The One Safety Test You Can Run Without Tools
- How to Document Wear Before It Fails
Why a Maintenance Checklist Matters in Burien
Burien sits in a climate that stresses every garage door part a little differently than the checklist in a national home maintenance magazine assumes. Cool, damp months dominate the year. That means the enemy isn’t the sun that bakes doors in the Southwest or the deep freeze of the Midwest. It’s moisture, and the slow wear that moisture drives. Surface rust creeps onto torsion bars and hinges. Seals absorb water and swell. Logic boards inside openers collect condensation over the cooler months and start behaving strangely. None of these fail overnight. They fail because nobody looked.
A real maintenance checklist for a Burien home should be built around that pattern, not around a generic “check your door twice a year” line. The six components below are the ones that matter most, and for each you’ll get a specific pass/fail criterion so you know whether you’re looking at normal wear or something that needs attention now.
Two things to keep in mind before you start. First, this checklist is designed for the homeowner who wants to know the condition of their system. It is not a tutorial for adjusting high-tension parts. We’ll say plainly which steps are safe and which belong to a trained technician. Second, the checklist works for any of the common residential brands we see around Burien, whether your door is an Amarr steel panel or a Wayne Dalton model with a torsion spring setup, and whether your opener is a modern smart unit or a legacy Craftsman.
Why bother? Because knowing where your door sits in that life is the difference between catching a frayed cable on a quiet Sunday afternoon and discovering it when the door won’t lift on a morning you need to leave. If your only maintenance contact is a repair call, the repairs tend to be bigger. If you spot the wear early, garage door repair stays a small job.
Springs: What to Check and What to Leave Alone
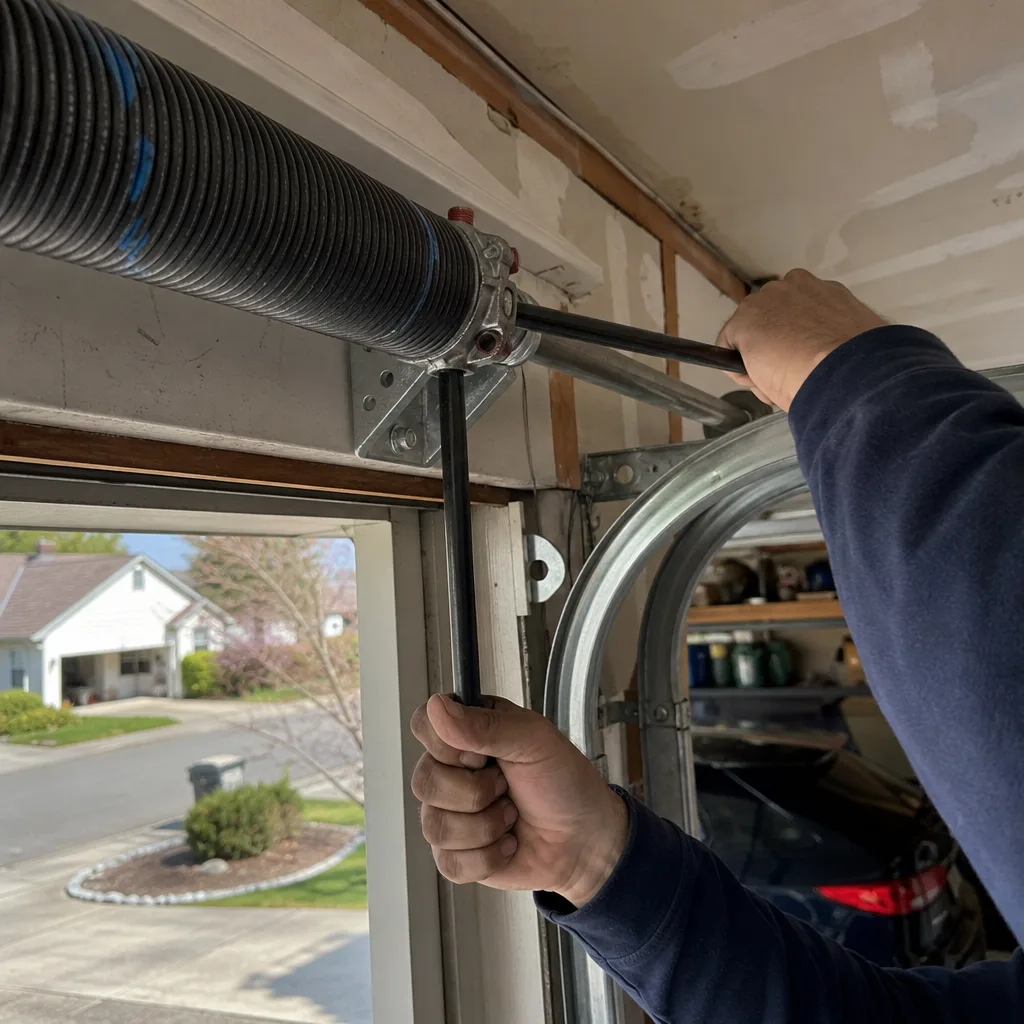
Springs carry the weight of the door. There are two families: torsion springs, which sit on a bar above the door and twist, and extension springs, which stretch along the sides on older or lighter doors. Both are under tension at rest. This is the single most dangerous part of your garage door. We’re going to tell you what to look for, not how to adjust or replace them. Those are jobs for a trained technician using the right tools.
Here’s what a safe visual inspection looks like:
- Torsion bars: Look for orange-brown surface rust and pitting along the bar and at the end plates. A little surface color is cosmetic; pitting where metal has flaked away is a signal to have the bar and springs evaluated.
- Extension springs: Look for gaps in the coils, stretched sections, and any rust that’s progressed beyond surface level. Check that safety cables run through the center of the spring (older doors often lack these).
- Spring gaps: If a torsion spring has a visible gap or separation in the coil, treat it as a failed spring. Don’t run the door.
- Balance test: Pull the manual release to disconnect the opener, then lift the door halfway and let go. A well-balanced door stays roughly where you left it. A door that sags or slams down is telling you the springs are tired.
That balance test is the one step most homeowners skip, and it’s the most useful. If a door won’t hold halfway, the spring system is done. We handle garage door spring repair as a core part of our work because high-tension springs are exactly what most generalists decline. One note on cost: a single torsion spring repair typically runs $180-$340 in the Burien market, and a matched pair is usually replaced together at about twice that. Your written estimate always sets the final number.
If your spring has snapped, do not pull the manual release and try to lift the door by hand. A door with a broken spring is very heavy and can come down hard. Keep it closed if you safely can, and call a technician.
Cables: The Part Most Homeowners Overlook
Cables wind around drums at the ends of the torsion bar (or run through pulleys on extension systems) and connect the springs to the bottom corners of the door. They’re under tension too, and they fail in a specific, visible way: strand by strand. A cable that’s starting to fail shows small broken wires protruding from the braid, sometimes called a “birdcage” or “fishhook.” Once that happens, the cable has lost strength and needs replacement before it snaps.
What to look for on your quarterly walk-around:
- Fraying: Run a gloved hand lightly along the visible length of each cable. If you feel loose or broken wires, flag it.
- Rust: Orange staining along the cable is normal in Burien’s damp months, but flaking rust means the steel is thinning.
- Cable drums: Check that the cable is winding evenly in the grooves, not crossing over itself or piling up. Uneven winding is a sign of an alignment problem.
- Slack on one side: If one side looks tighter than the other, stop using the door. This means the load has shifted.
Cable adjustment and replacement are also high-tension work. Don’t attempt to disconnect or re-run a cable yourself. The failure mode is the whole door dropping on one side, and that’s a hazard to anyone under or beside it. Treat cable inspection as information gathering: if you find a problem, you call a professional.
If a cable has snapped or a door has come off its tracks, do not run the opener. Call for help before you touch anything.
Rollers and Tracks: Roll, Align, and Inspect
Rollers are the small wheels in the hinges and brackets that ride in the tracks. Tracks are the metal rails that guide the door up and down. These are the least dangerous parts of the system to inspect, and the most rewarding to catch early.
Rollers: Steel rollers wear out faster than nylon ones, and worn rollers make the door rumble and jerk. Check each one by hand. A roller should spin freely by hand and show no flat spots on the wheel. Worn bearings will wobble. If you’ve noticed the door getting noisier, rollers are often the reason, and replacing them is a quick, low-cost job when you catch it.
Tracks: Walk along each track on both sides. Look for dents, bends, and debris. The vertical tracks should be plumb, and the horizontal tracks should be level. If a bolt is loose, it’s safe to snug it down with a wrench. If a track is bent out of shape, don’t try to muscle it back with a hammer; a bent track will keep the door off alignment and damage the rollers. That needs a technician.
Tracks take a beating in Burien from two things: hasty car reversing that clips the bottom panel and small debris that gets kicked against the lower track. A quarterly look catches both. If a door has been hit and is now off its tracks, stop using the opener and call for help. Once the door is off the track, running the opener can bend the panels and make the repair bigger.
Weather Seals: The Burien Swelling Problem
There are two weather seals on a typical garage door: the bottom seal, which runs along the bottom panel and meets the floor, and the side and top seals, which form a perimeter gasket around the opening. In Burien, the bottom seal is the one that ages fastest. Water pools at the concrete apron outside a garage, and the bottom of the seal sits right where it splashes. Rubber and vinyl absorb moisture, then stiffen, crack and pull away from the door. A swollen bottom seal won’t sit flush on the floor, which lets water and cold air under the door and drives up your heating bill.
Here’s how to check each one:
- Bottom seal: Push it with your thumb. It should flex and spring back. If it feels hard, chalky or has visible cracks, it’s past its prime. Look for gaps between the seal and the floor when the door is closed; the simple paper test works, closing the door on a sheet of paper and seeing if it pulls out with resistance.
- Side and top seals: Look for tears, sagging, or shrinkage that leaves a gap between the seal and the door or frame. A gap lets water in at the corners.
- Corrosion on hinges and brackets: While you’re at the door, look for rust where the bottom hinges join the panels. That’s where standing water collects most often.
Replacing a bottom seal is a reasonable homeowner job for a standard threshold seal if you can find the right profile for your door, but many Burien homes have custom or older doors where the correct replacement is hard to source locally. If the seal is swollen and the door is a brand like Raynor or Clopay that uses a specific profile, a technician can match it faster than you can chase the part around town.
Opener Checks: Mechanical and Logic Board
Your opener is two machines in one: the mechanical drive (chain or belt, motor, gears) and the control electronics (logic board, remote receiver, sensors). A maintenance check should look at both, and in Burien’s humidity the electronics half deserves extra attention.
Mechanical checks:
- Listen to the opener run. A grinding or straining sound points to worn gears or a tired motor.
- Check the chain or belt tension (if your opener uses one). It should not sag more than about an inch between pulleys.
- Verify the manual release works (pull the red cord, then reconnect). If it’s stuck, that’s a problem.
- Walk or run the door to check that it moves smoothly and doesn’t reverse on its own.
Electronic checks:
- Check that both photo-eye sensors glow and are aligned. The LED should be steady, not blinking. A blinking sensor means the beam isn’t meeting.
- Test your remotes from the end of the driveway. If range has dropped, the receiver board or battery may be the issue.
- Look for condensation on the opener housing in cooler months. Logic boards are sensitive to moisture, and slow damage on a board can show up as intermittent behavior long before outright failure.
If your opener is failing to respond, reversing on its own, or giving you trouble with a smart-home app, that’s a job for garage door opener repair. We work on LiftMaster, Chamberlain, Genie, Craftsman and other common residential openers we’re familiar with, so we can diagnose by how that brand typically behaves rather than guess at it.
Lubrication: The Right Product and What to Skip
Lubrication is where enthusiastic homeowners cause the most harm. The two mistakes are using the wrong product and using it on the wrong parts. Here’s the short version.
Use:
- White lithium grease or a silicone-based lubricant on rollers, hinges, and the spring coils themselves (a light coat, not a spray-down).
- A dry PTFE or silicone spray on the tracks, wiped lightly, to keep rollers gliding without attracting grit.
Do not use:
- WD-40 on springs. It’s a solvent, not a lubricant. It strips existing lubricant and can leave the spring drier than it was. It also attracts dust, which grinds into the coils.
- Motor oil or cooking spray on any part of the door.
- Grease on the tracks. Garage tracks are not a bearing surface meant to hold thick grease. It collects dirt and grit and turns the track into sandpaper for your rollers.
- Heavy lubricant on the photo-eye housings. Keep the sensor lenses clean and dry.
Our general rule: lubricate moving parts once or twice a year, typically ahead of winter, and avoid lubricating any surface that touches the floor or the seals. If you’re unsure whether a part should be lubricated at all, leave it alone and ask.
The One Safety Test You Can Run Without Tools
The auto-reverse system is the most important safety feature on your door. It stops and reverses the door when the bottom edge meets resistance, and the photo-eye sensors reverse the door when something crosses the beam. You can test both without any tools.
Test the contact reverse:
- Close the door and disconnect the opener if needed. Then re-engage the opener.
- Place a piece of wood (about 1.5 inches thick) flat on the floor directly under the middle of the door.
- Press the wall button to close the door.
- When the door meets the wood, it should reverse within a second or so and reopen fully.
If the door doesn’t reverse, or reverses only after crushing the wood, the force settings or the limit switches need adjustment. This is a safety failure; stop using the door and call a professional.
Test the photo-eye: With the door open, press the wall button to close it, and wave your hand or a piece of cardboard between the two sensor lenses as the door starts down. The door should stop and reverse. If it doesn’t, the sensors are misaligned or a lens is dirty. Wipe them and retest; if they still fail, it’s a sensor or logic board issue.
Run both tests monthly. It’s the highest-value five minutes you can spend on your door.
How to Document Wear Before It Fails
The hardest part of maintenance is knowing whether wear is progressing. A cable that was 90% intact last quarter is now 80%, and you have no way of knowing unless you wrote it down. A simple log changes that.
What to record, each season:
- Date and what you checked (springs, cables, rollers, tracks, seals, opener, safety reverse).
- Any finding you’re unsure about, with a photo. A phone camera is plenty.
- The condition of high-wear parts in plain language: “bottom seal starting to stiffen at the left corner,” “left cable has one broken strand,” “rollers spinning freely.”
- A rough life-remaining estimate, based on how much has changed since the last check.
After a couple of cycles, you’ll see the trend: which parts are stable and which are on their way out. That lets you plan a replacement before the failure, in the season of your choosing, at a time you control. It’s a better use of maintenance than waiting for a snapped spring to make the choice for you.
If you’re unsure how to read a finding, that’s what we’re here for. A quick call or a free estimate can turn an ambiguous observation into a clear plan. Our technicians have up to 15 years of experience reading garage door wear, and that’s how we make the call between “keep an eye on it” and “replace now.”
Common Mistakes to Avoid
- Using WD-40 on the springs. It’s a solvent, not a lubricant. It dries out the coils and attracts grit, which speeds wear instead of slowing it.
- Greasing the tracks. Thick grease on the tracks collects dirt and turns the rollers into sandpaper. Track lubrication should be a light, dry coating, not a coat of grease.
- Trying to adjust a high-tension spring yourself. Springs sit under enough tension to cause serious injury. If a spring is broken or out of balance, call a trained technician. Never attempt to wind or unwind one.
- Ignoring a swollen bottom seal all winter. In Burien, a stiff seal that stops sealing lets water under the door through the damp months, and by spring it’s often past saving.
- Running the door after a cable has snapped or the door is off its tracks. That turns a small repair into bent panels and a much bigger bill.
- Skipping the safety reverse test. This one is serious. If the auto-reverse fails, the door can trap a child or a pet. Test it monthly and treat a failure as urgent.
- Assuming an odd opener is a dead opener. Intermittent openers, especially with logic boards and remotes, are often a sensor, wiring or board issue, not a reason to replace the whole unit. Diagnose first.
See the difference
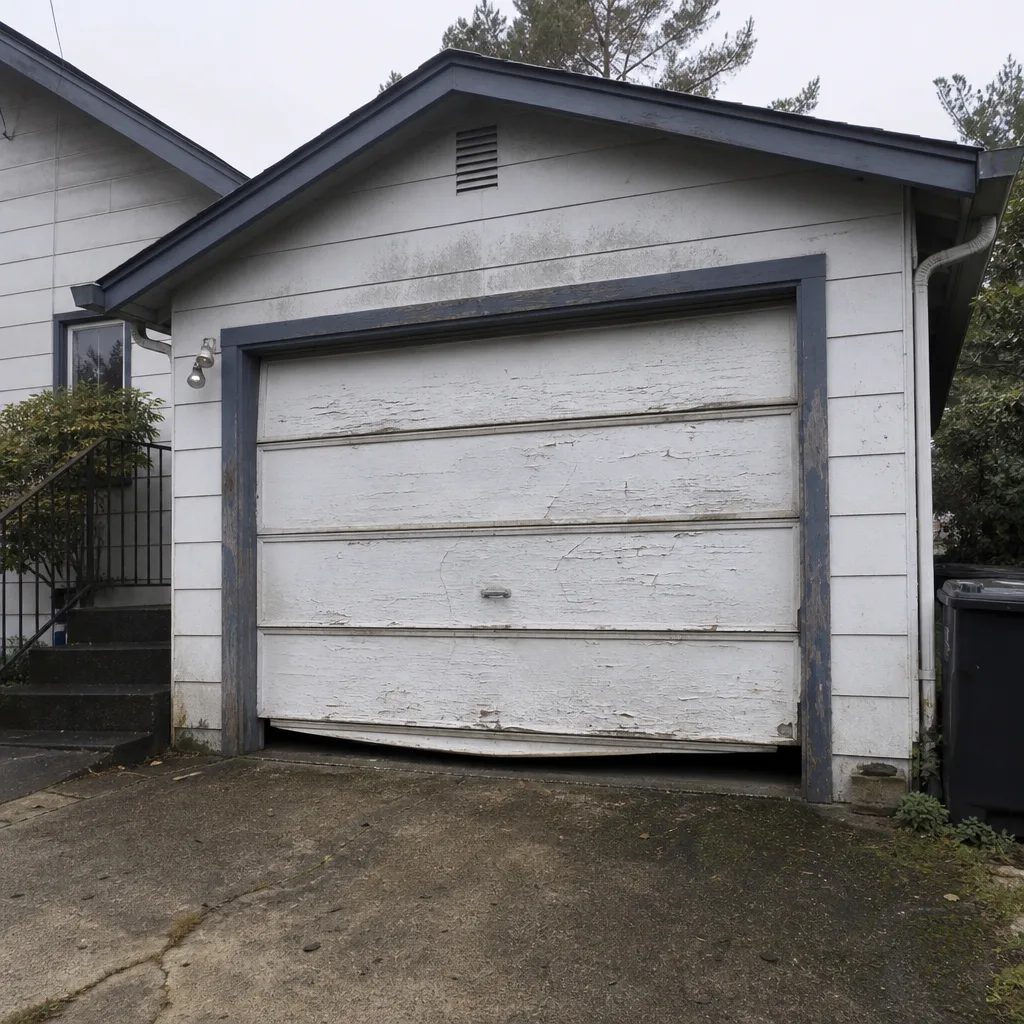 Before
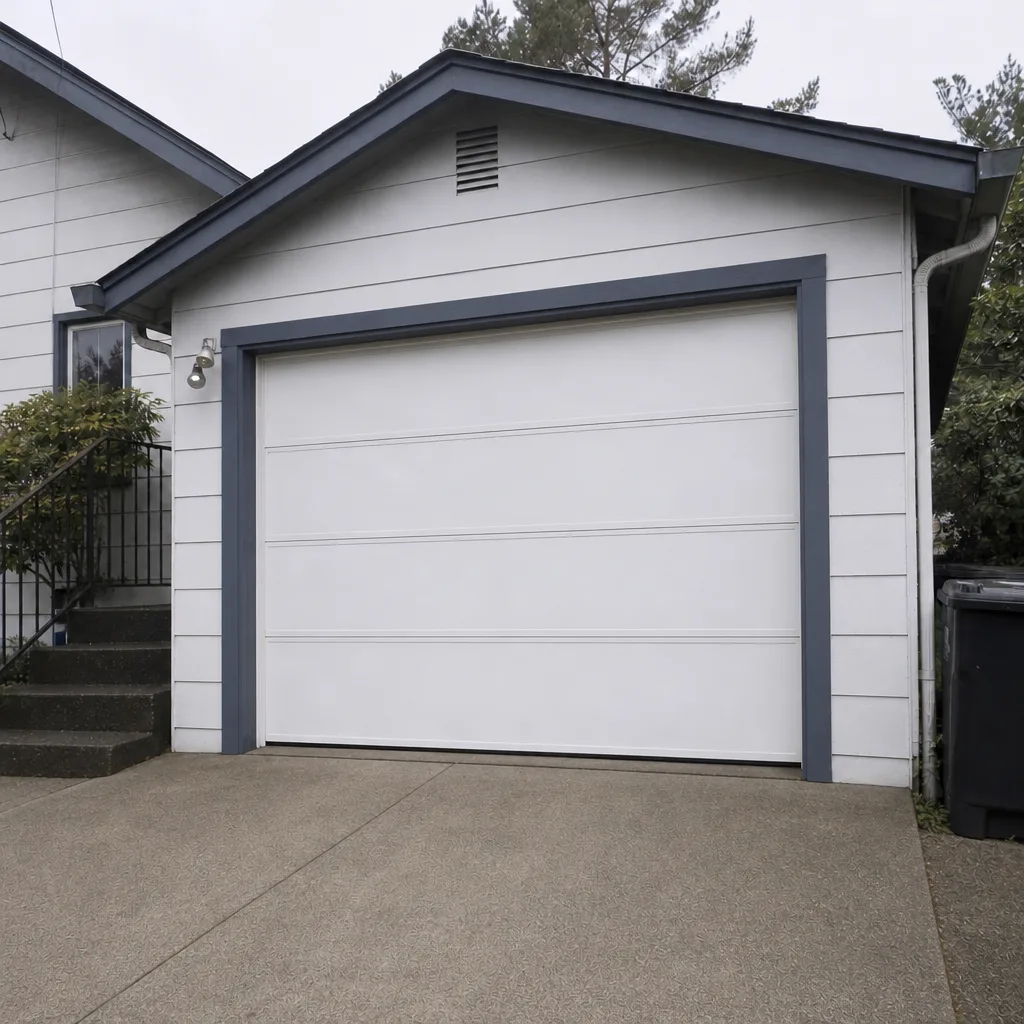 After
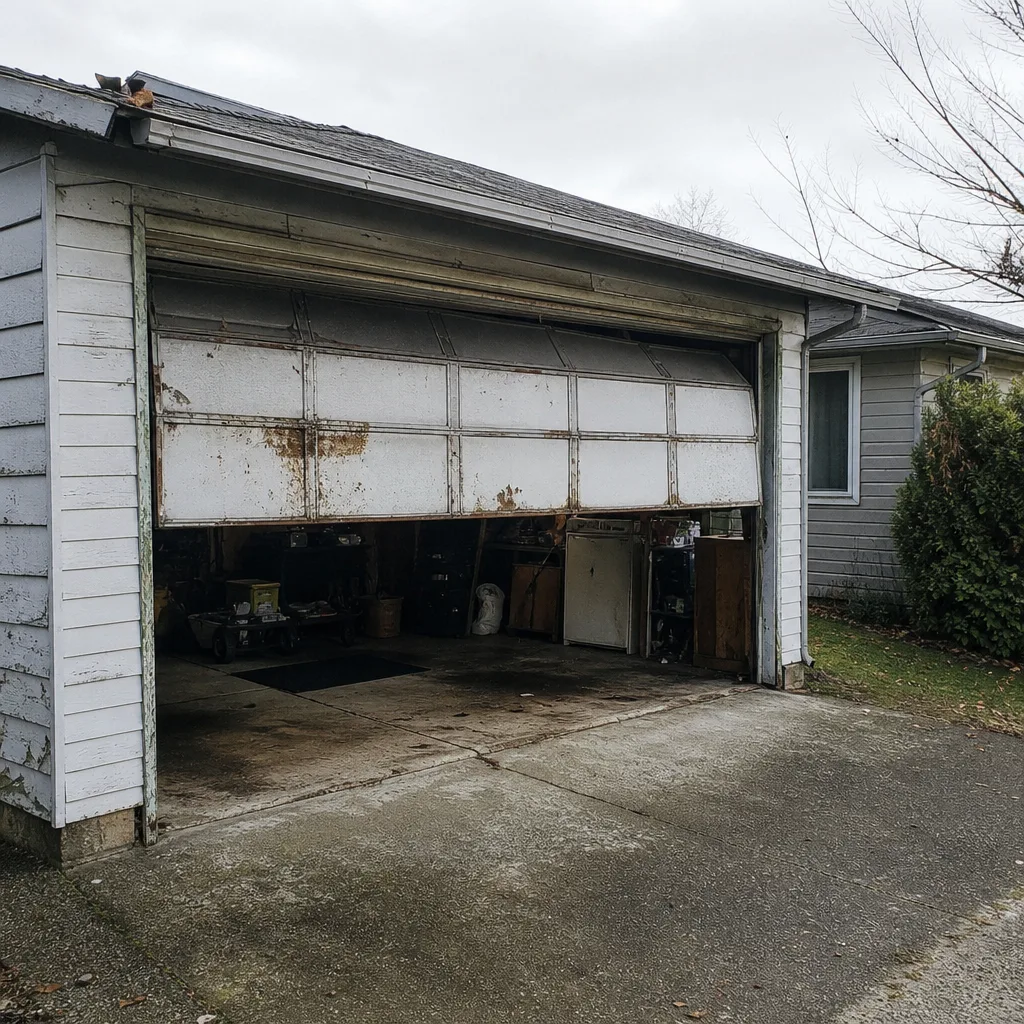 Before
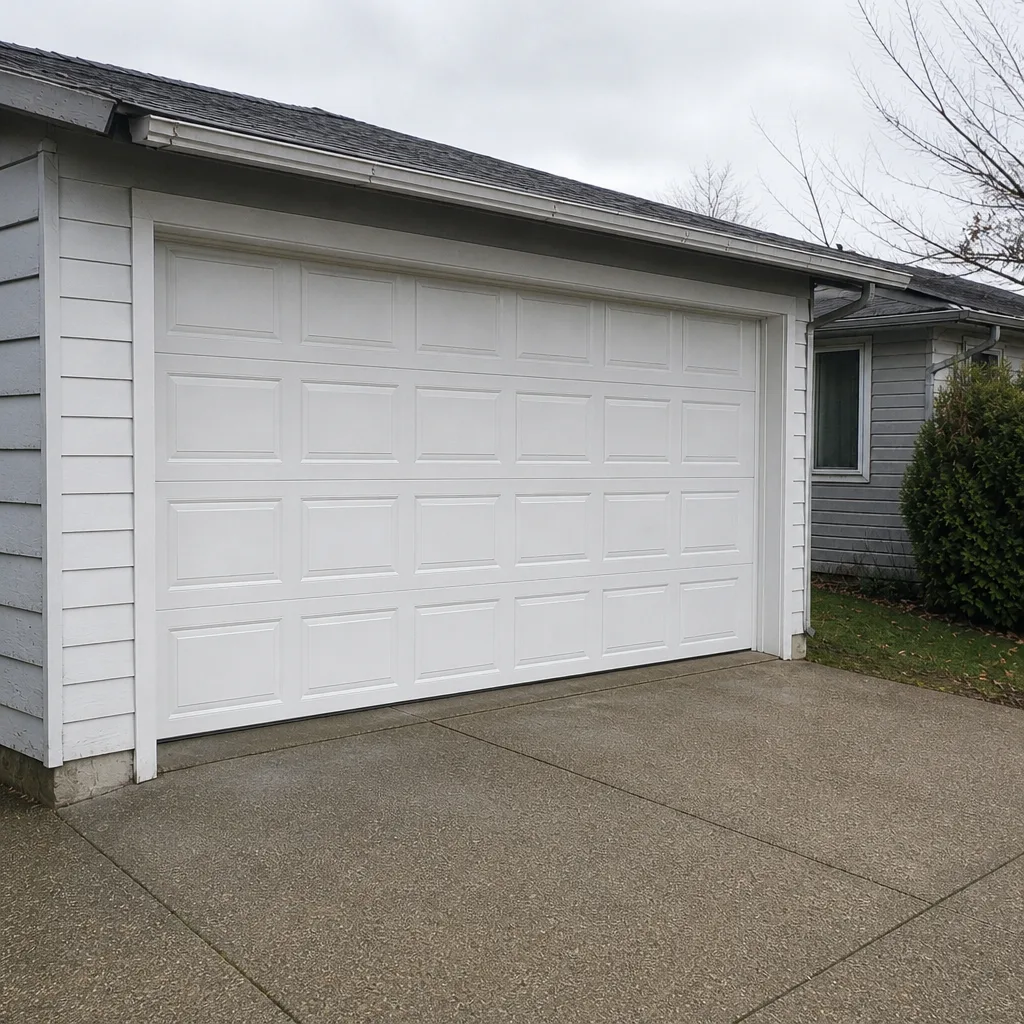 After
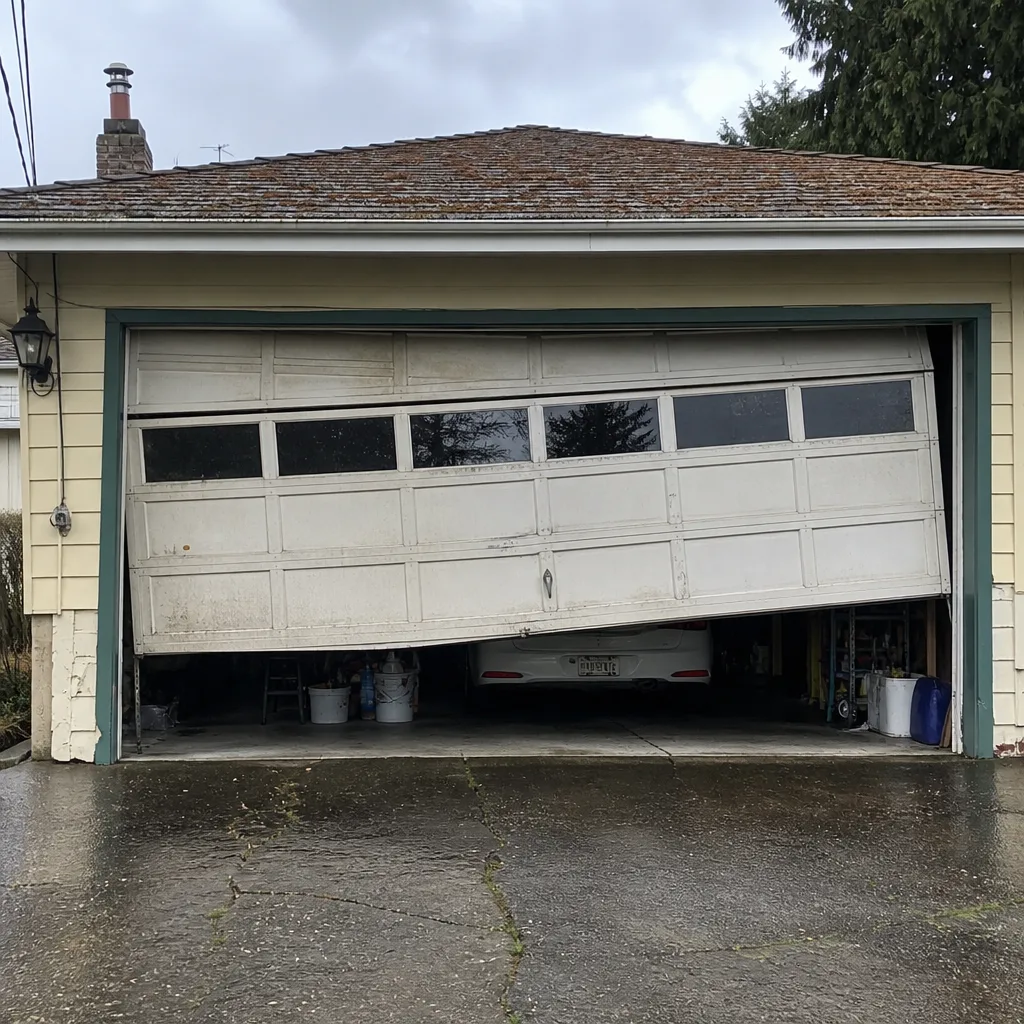 Before
 After
When to Call a Professional
Call a professional when you find a broken torsion spring, a frayed or snapped cable, a door that’s off its tracks, or a bent track. Also call for any opener that reverses on its own, fails the safety reverse test, or acts erratically. If a balance test shows the door won’t hold halfway, that’s a spring problem and it goes on the call list. And if your door has come down hard or made a loud bang and stopped working, don’t try to lift it.
Burien Garage Door Repair Pros offers free estimates in Burien. We’re open Sunday through Friday, 7am to 7pm, and closed Saturday. Call (877) 542-9430 for a free estimate. Our Burien Garage Door Repair Pros team knows the local climate and the component wear it drives, and we work on what you already have. If you tell us what brand your door and opener are (Amarr, Raynor, Craftsman, LiftMaster, or another on our list), we can tell you what to expect before we arrive.
Frequently Asked Questions
A basic inspection visit typically runs $80-$150 in this market, depending on what’s checked. A more involved tune-up that includes lubrication, roller replacement and safety testing usually falls in the $150-$250 range. If the visit turns up a repair, the repair itself is quoted separately and agreed before any work starts.
Quarterly for the visual checks and monthly for the safety reverse test. The quarterly cycle catches seasonal wear in Burien’s damp months, and the monthly safety test ensures the auto-reverse system is functioning. If your door is older or has had prior spring or cable work, tighten the schedule.
Sometimes. If your door uses a standard threshold seal and you can find the right profile locally, it’s a reasonable homeowner job. If the door is an older or custom model, or if the seal is a brand-specific profile, matching the right part is tricky, and a technician can source it faster.
Stop using the opener and don’t try to force the door back into place. A door off its tracks can fall or damage panels if pushed into motion, and running the opener will bend things further. Call a technician to realign the door safely.
Yes. A maintenance visit finds wear you can’t see: a cable down to its last couple of strands, springs that are one cold snap from breaking, sensors that are out of alignment. A modest inspection cost is far less than an emergency spring replacement or a door repair done on short notice.
Surface rust is a light orange film you can wipe away, and it’s mostly cosmetic. Real rust is pitting: metal flaking, flaking paint that leaves metal exposed, and rust you can feel as a rough texture. Pitting on a torsion bar or at hinges means the metal has lost thickness; that’s a signal to have the part evaluated.
For repair and emergency calls, yes, same-day service is often available from 7am to 7pm, Sunday through Friday. We’re closed Saturday. Installation and replacement work is measured, ordered and scheduled, so those quotes are given in person after a free measure and a written price. Call (877) 542-9430.
The Bottom Line
A maintenance checklist is only as useful as the specifics behind it. This one gives you concrete pass/fail criteria for each of the six components that matter most on a Burien garage door: springs, cables, rollers, tracks, seals and the opener. It also highlights the failure patterns this climate makes worse, including rust on torsion bars, swelling bottom seals, and moisture damage in logic boards. Run the quarterly checks, do the monthly safety reverse test, and keep a simple log. If a task requires a trained technician, especially anything involving high-tension springs or cables, call in help. Our team at Burien Garage Door Repair Pros works on what you already have, diagnoses by brand, and gives you a clear written estimate before any work starts. Call (877) 542-9430 for a free estimate.
Written by the team at Burien Garage Door Repair Pros.